
This document outlines the steps for a system administrator to successfully submit payroll from Insperity Time and Attendance (ITA) to Insperity Payroll.
NOTE: This process should be completed before final approval of the payroll.
Running reports in Insperity Time and Attendance
It is recommended that administrators run reports to validate timecards are correct before proceeding to the approval step. To access navigate within ITA on the left navigation tree to Reports > Generate Reports.
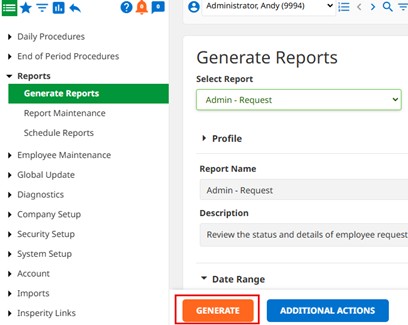
Common reports for timecard review include:
- Admin – Request – Highlights outstanding/unanswered employee requests submitted in ITA for the pay period that would prevent the timecard from being approved.
- Payroll – Transfer – Review all timecards prior to approval.
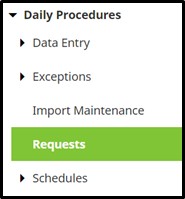
Access the requests page
- From the main left navigation menu, open the Daily Procedures folder.
- Click on the Requests page.
Review the Requests page
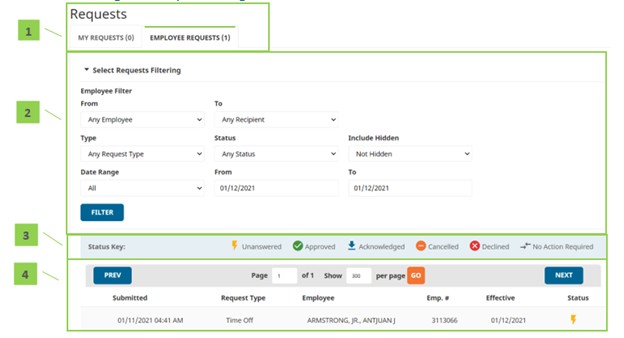
1 – Page selection tabs
- My Requests – View requests that you‘ve sent and send new requests
- Employee Requests – View requests your employees have sent
- Depending on company setup, a Time and Attendance administrator may have access to see and act upon all requests sent in the system.
2 – Select requests filtering
This filters the data on the page to a specified subset of information. To set a filter, select filter option(s) and click the Filter button. Filtering options are below:
- From – Employee who sent the request
- To – Supervisor for whom the request was sent
- Status/type filter
- First drop down – Type of request
- Second drop down – Status of request
- Third drop down – Hidden or not hidden requests . Hiding requests will clean up a user’s current view based on date range or selected requests but keep all requests in the background until this filter is readjusted to make them visible to the user again.
- View Range (From/To) – Preset date ranges, or place in a start and end date within which the request was sent
3 – Status key
These define the request statuses.
- Unanswered – Request has not yet received a response
- Approved – Request was approved by the supervisor
- Acknowledged – General request was acknowledged by the supervisor
- Cancelled – Request was cancelled by the sender
- Declined – Request was declined by the supervisor
- No action required – No action is needed on the request
4 – Requests
Displays all the sent requests on the My Requests tab and all of the received requests from the Employee Requests tab.
Request detail definitions
Below is a list of the fields in alphabetical order that may be seen on the main Requests page, or within the Detail View pop-up window when sending or receiving a request. Access to these fields is dependent on company-specific setup and individual security.
- Actual date/time – Date and time of the request
- The date can be selected via the pop-up calendar or typed. The time must be typed.
- Calendar – Launches the Time Off Calendar. It is located at the top right of the Detail View
- Date – Date(s) of time off
- Employee – Employee who sent the request
- Emp. # – Employee number
- Effective – Dates requested (dates for time off, to change the schedule, or fix a missing punch)
- If the requests span multiple days, a [+ ] will appear beside the effective date
- Hours/minutes – Total hours/minutes of time off per day
- Accrual balance – If the Pay Type selected is attached to accruals, a running balance will display in this column adjacent to the hours/minutes. Hover over the amount to see the accrual plan, committed balance, and running balance.
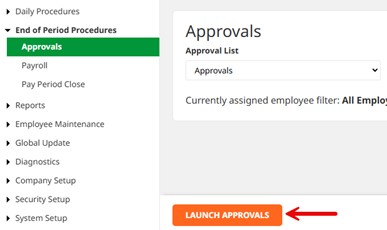
Approving timecards
The Approvals page is used to approve timesheets at the end of a pay period. It provides one place for reviewing timesheet hours for many or all employees at once.
- In the main navigation menu, open the End of Period Procedures folder.
- Click on the Approvals page. You will then be promoted to ‘Launch Approvals on the bottom left of the screen.
- Ensure all employees have checkmarks in the checkboxes by all employee names. You can use the Filter List drop-down at the top to get the list of only unapproved employees. You may also sort the screen by Supervisor or Pay Group.
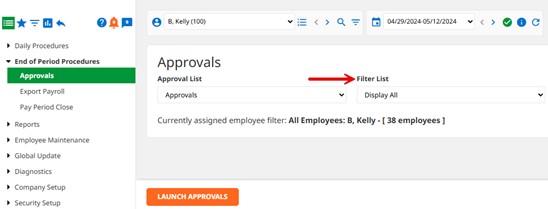
- Note all outstanding time off requests for the current period must be acted upon prior to approving and exporting time.
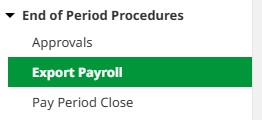
Exporting data from Insperity Time and Attendance
- In the main navigation menu, under End of Period Procedures select Export Payroll.
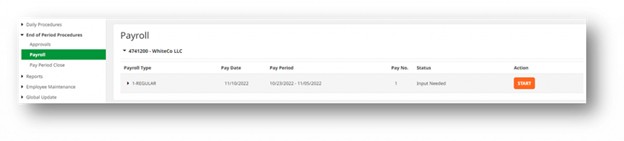
- Time and Attendance will now auto-populate payrolls that have been created in Insperity Payroll.
- If a client ID is not active in Insperity Payroll, no payroll export will exist in Time and Attendance.
- If there are multiple client IDs, each will appear separately. Locate the payroll to export based on company ID and date.
- If your data has previously been transmitted to payroll, the button will display Re-Start.
- Click on the payroll’s Start button, located on the far right of the row within the Action column.
- A progress bar will show the current step in real-time.
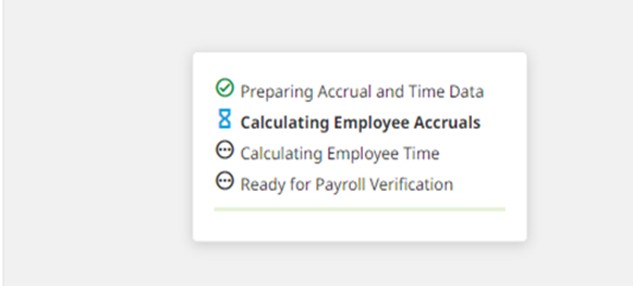
- Warnings and errors may appear at this time. Errors must be fixed prior to a successful payroll export by following the steps on screen. Once the errors are fixed, repeat steps four through five to transmit the corrected file.
- Repeat steps four through five for any additional company IDs.
Ending the pay period
The final step that an administrator must perform in Time and Attendance at the end of every pay period is to formally end the pay period. This action should not be taken until all of the timesheet approvals have been completed, payroll has been processed, and checks have been cut. Ending the pay period commits all of the timesheet and accrual information into history and advances the dates of the current pay period forward. To end the current pay period(s) in the Time and Attendance system, follow the steps below:
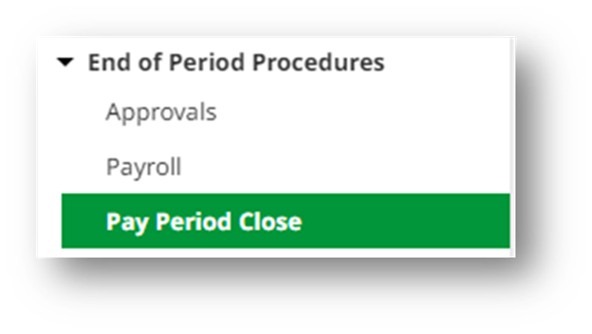
- In the main navigation menu in Time and Attendance, open the End of Period Procedures folder.
- Click on the Pay Period Close page.
- Select the appropriate pay period to end using the Select Pay Period dropdown. Verify that the Period to End and Next Period fields are accurate. Payroll History and Accruals History dropdowns should be set to “Yes”.
- Click the End Period button.

If any missing punches or outstanding requests exist, an error will appear and the system will not allow an administrator to end the pay period. These errors must be resolved prior to completing the end-of-period processing.
A confirmation will display if the pay period end was successful.