
Creating a new plan
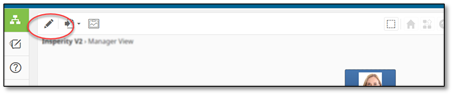
To create a new plan, select the New Plan icon that is shown at the top left of your charting space. If you do not have planning permissions, you will not have the icon on your charting space.
A new window will appear where you will set your plan properties:
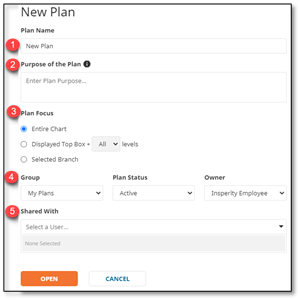
- Plan Name: You will need to provide a name for your new plan, such as “Sales 2021”. This will allow you to easily identify the plan you need from a list of plans.
- Purpose of the Plan: You can add details about the purpose of the plan or items specific to this plan.
- Plan Focus: You can choose which part of the chart you would like to plan for based on the selections under plan focus. Please note that the administrator may have set up planning limits to your profile such as only being able to plan for your direct reports.
- Group, Plan Status, and Owner: These set various categorizations for your plan. To update/add plan status names or editability, see Configuring plan status settings in OrgPlus Planning.
- Shared With: If you would like to allow others to have access to the plan, select the name in this section. Only users who have access to planning will be included in this list. Please note that the administrator may have set up users with planning limits. To turn off notifications when a plan is shared with another user, see Configuring plan status settings in OrgPlus Planning.
Once you have set your plan properties, click Open to enter planning mode.
Navigating the planning module
In planning mode, your chart will have a checkered background. Areas of the chart with the blue outlined background are editable sections based on your permissions.
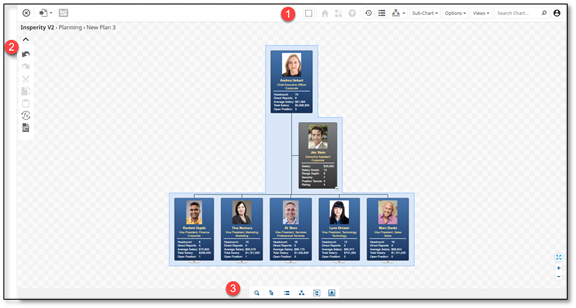
- The same chart navigation tools that are in charting space are also in the planning module allowing you to print, change views, change branch styles, and modify sub-chart levels while in planning.
- New icons will appear on the left-hand side of the planning chart and help you with functions such as cutting, pasting, undoing changes made, and recalculating formula fields displayed on the chart.
- Additional secondary workspace tools will display at the bottom of the page.
Making Changes in Your Plan
Editing an Employee’s Information and Adding Direct Reports
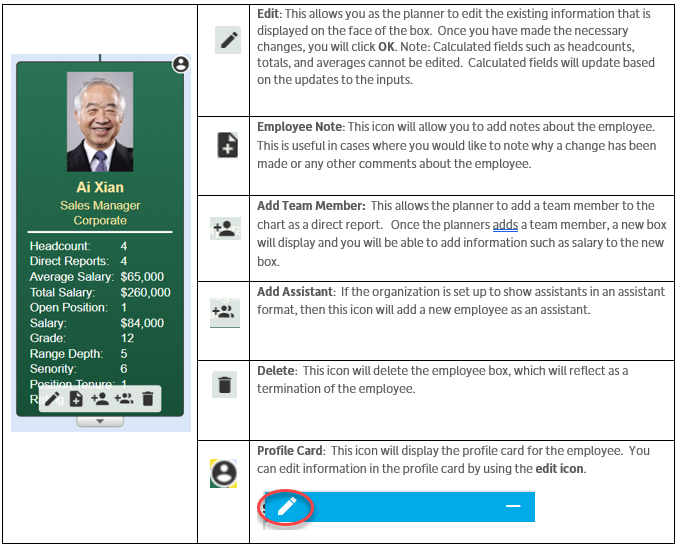
In the planning mode, you will have several additional buttons on each of the employee’s boxes to allow you to make modifications to their information as well as add new boxes in your organization.
Moving Employees Within the Chart
You can manually model changes to your organizational structure using several different methods:
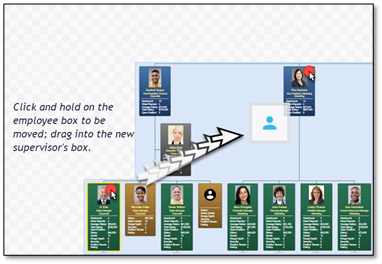
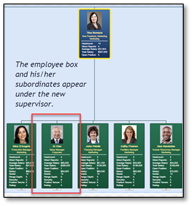
Drag-and-drop to new supervisor: Reassign an employee (and his/her subordinates) to a new supervisor by ‘dragging-and-dropping’ the employee box in the new supervisor’s box.
If you would like to move a group of employees, you can Ctrl+ Click each employee box or use the Marquee icon at the top of the chart.
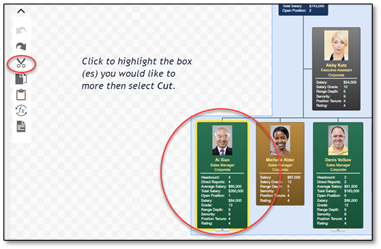
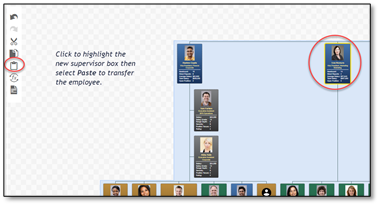
Cut and paste to a new supervisor: Use the Cut option (scissors icon) to remove an employee from one supervisor and Paste under another supervisor.
If you would like to move a group of employees, you can Ctrl+ Click each employee box or use the Marquee icon at the top of the chart.
Holding the employee in the Staging Area: Drag-and-drop an employee box for later reassignment (his/her reports follow into the Staging Area).
In the planning mode, you can use the Secondary Workspace as you did in your charting space.
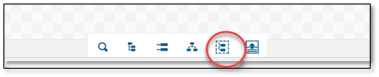
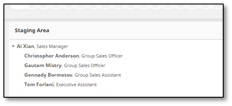
Staging Area: Click on this icon to display the staging area. This is where you can move employees when they are going to be deleted from the planned organization, or when you would like to move them to a different supervisor. The staging area is a holding spot for further consideration of the employee without deleting them from the chart plan.
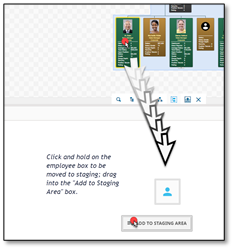
The employee will be held in this area until any additional actions are performed such as dragging and dropping back into the chart. Note that if the employee has any reports, the reports will be included in this staging area.
Updating Calculated Fields (Headcount, Total Salaries, Etc.)
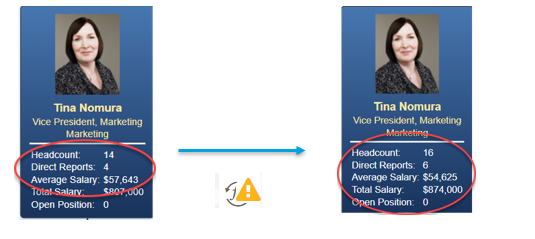
When you are in a View that contains formula fields and you move, add, or delete employees or if you edit number fields such as salary, you may need to click Recalculate Formulas to update displayed formula field calculations.

For example, we have moved two people under a new manager and now we must recalculate the headcount and salaries for the manager:
Tracking and Reporting Changes
You can create a report on the changes you have made to your team. In the planning mode, you can use the Secondary Workspace as you did in your charting space. You can access your Secondary Workspace with the icon menu at the bottom of your screen:

Track Changes, when clicking on this icon, will display all the changes that you have made in your plan.

Click on the plus sign next to the change to see additional information.
Use the Settings icon to establish the fields you would like to display in track changes:
Use the Change Report icon to view your changes in a report.
Sharing Your Plan Model and Exporting Data
As in your charting space, you can print your chart to PowerPoint or PDF. To export the plan data in Excel, choose the Excel option when sharing.
Closing Your Plan
When you are finished with planning, and want to return to your charting space, close out of planning by clicking on the Close icon at the top left-hand side of your charting space.
Managing Plans
Once you have created and saved a plan, you can manage this plan by choosing the Manage Plans icon on the left side of your charting space. The screen below will be displayed. You will find a list of any plans created by you, owned by you, or shared with you. On the left-hand side of the screen you will see the options to organize and locate your plans.
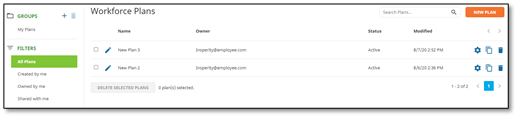
To edit an existing plan, select the Edit icon.

To change the properties of an existing plan, such as the name of the plan, the owner, and who it is shared with, select the Properties icon.

To copy a plan to use as a basis for a new plan, select the Copy Plan icon. For more information on copying a plan, see I have made changes to a plan, and now I would like to copy that plan and continue and make additional changes.

To delete a plan, use the Delete Plan icon.

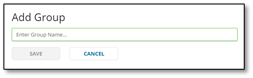
To organize your plans, you can create Groups. To create a Group, click on the plus sign. This will open the Add Group panel to add a group as shown below. Type your group name and then click Save.
You can organize plans into the new groups. To add plans a new group, click on the Properties icon to the right of the plan. The Plan Properties panel will display. Click on the Group dropdown to select the new group name and then click Save.
See Creating and managing Groups in OrgPlus planning for additional information.