Updating Integra with the most recent QuickBooks data
Step 1: Integra/QuickBooks sync
- Open a browser and enter https://integra.insperity.com/Dashboard/Main. Enter your credentials and click Log In.
- Click Sign In
- Do you have new employees this period? Ensure the new employees are added to QuickBooks then sync to Integra and map the employee to the Insperity employee id
- Did you add new/edit accounts to QuickBooks that you will use with this export? Ensure you sync in order for Integra to pick up these new accounts.
- Sync Integra with the latest account and employee information from QuickBooks by clicking the sync icon then the Update Now button on the left hand menu.
Importing Insperity Payroll Report for Integra
Step 2: Run the Integra XML Import file
Open a browser and enter https://portal.insperity.com/. Enter your credentials and click Log In.
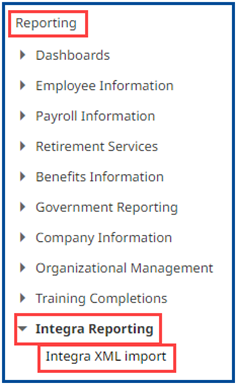
Access the Integra XML Import
- Select the Reporting tab in the left-hand menu
- Select the Integra Reporting tab
- Select the Integra XML import
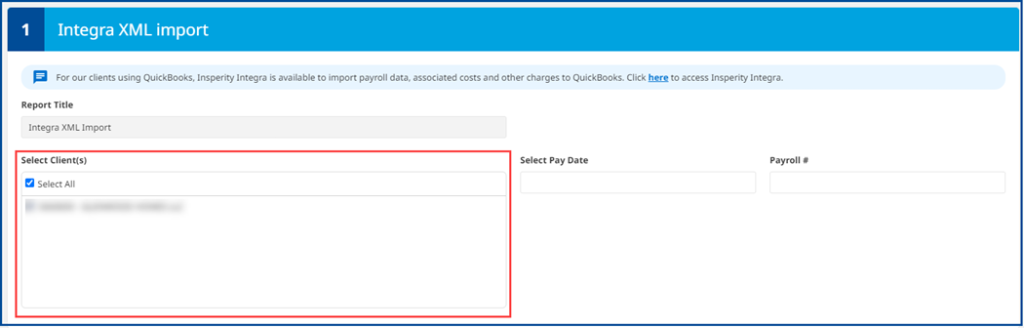
Select Client ID
Note: If you have multiple client IDs, you will only be able to run one client ID at a time.
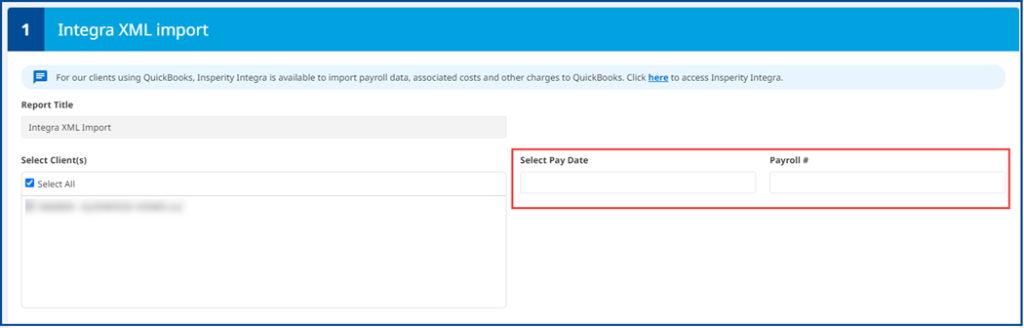
Select the Pay Date and Payroll #
If you do not know what the pay date or payroll # is, please run the invoice detail report.
Run Report
The payroll report will download automatically into your Downloads folder.

Step 3: Integra
Open a browser and enter https://integra.insperity.com/Dashboard/Main. Enter your credentials and click Log In.
Import time sheets from Time & Attendance
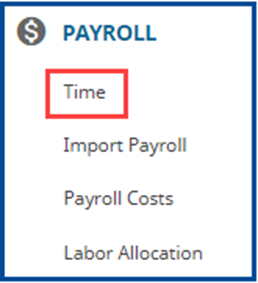
- Under the Payroll area click Time on the left-hand menu.
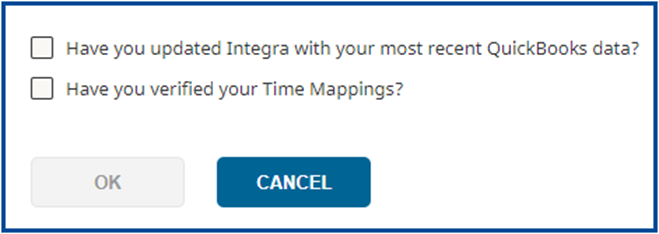
- Check the boxes and follow the steps if you made changes in QuickBooks that will affect your Time & Attendance mappings or click Cancel.
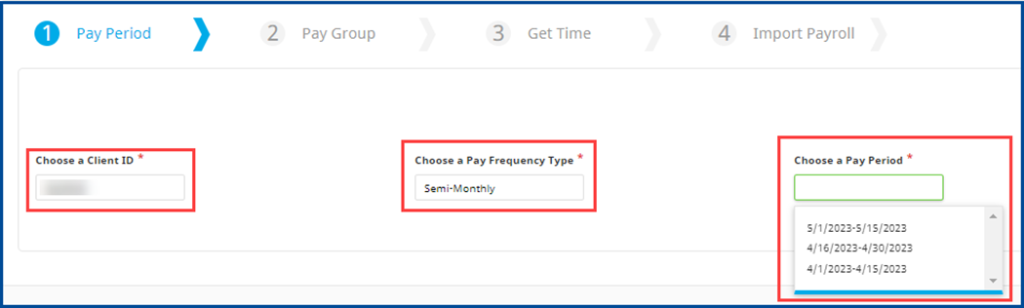
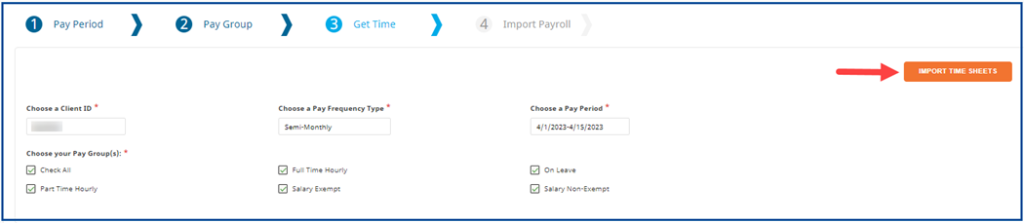
- Choose the appropriate Insperity Client ID, Pay Period Type, and the pay period you would like to export.
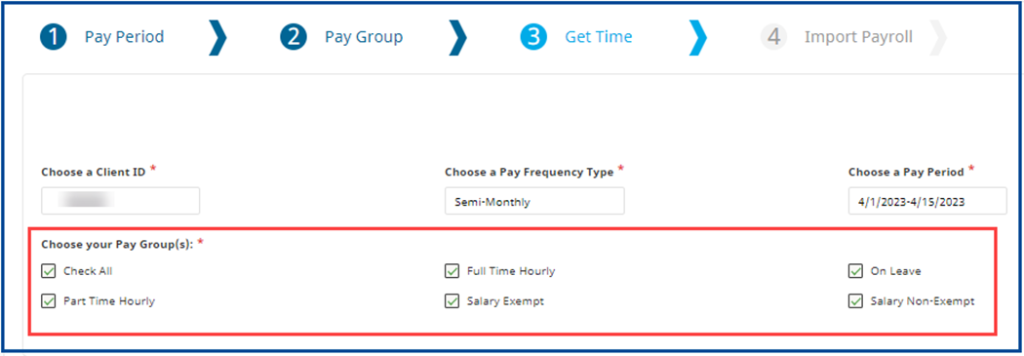
- After selecting the value above, you will be able to select/unselect the pay groups you would like to export if that applies. Pay groups may differ depending on your Time & Attendance setup.
- Next select Import Time Sheets.
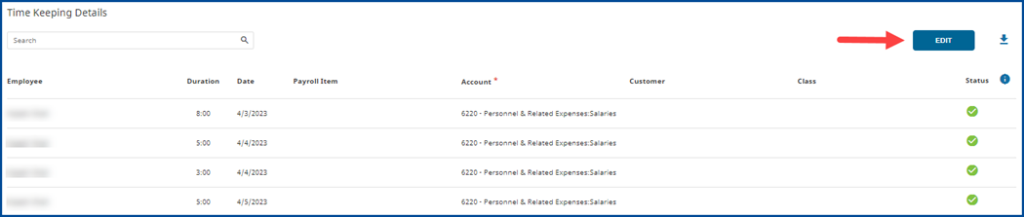
- The hours per person will appear on the screen below. If any mappings are missing or needs to be updated, you can click Edit and map appropriately.
- Confirm total hours.
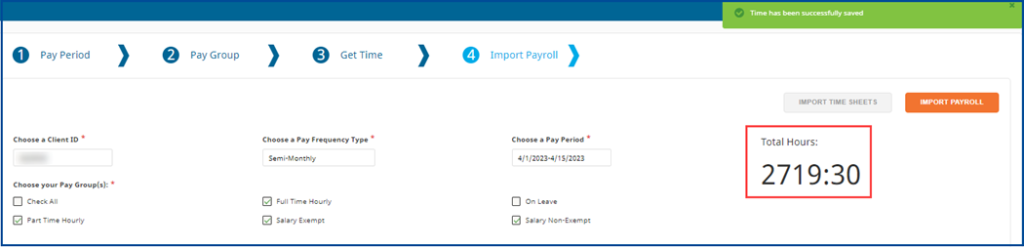
- Select the Import Payroll button.
Import payroll into Integra

- Click the Upload XML button. A new pop-up window will display, navigate to where the previously downloaded XML file is.
- After the import is successful, please click on the View Payroll button. If the import is unsuccessful, please correct any errors and re-import.

Review payroll costs
- You always want to review the uploaded payroll costs before moving forward to the Labor Allocation step.
- Click Edit if changes are needed
- Click Continue to Labor Allocation Report to continue
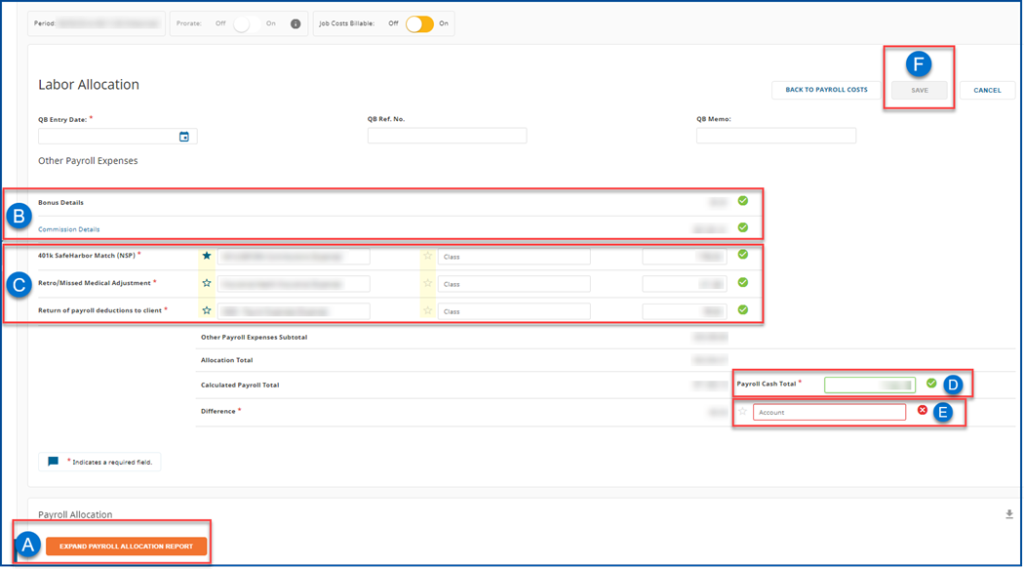
Labor Allocation Review
- Confirm QuickBooks bill fields
- Click Expand Payroll Allocation Report for further review
- Confirm bonus and commission (if any)
- Confirm and map or remove additional charges or credits from the Insperity bill (if any).
- To save future mappings please click on the star to the left of the account name.
- Input the Payroll Cash Total (total amount due to Insperity)
- Confirm and map the Difference (if any)
- Select Save then click Export to QuickBooks