
You are able to add more color options to your standard choices when building out your views.
Under Styles, box color, border color, and field highlight options can be added or modified. The width of the boxes and the photo layout of the boxes can be adjusted here as well.
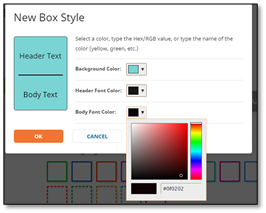
Adding colors to box styles
The application provides 9 default box styles you can apply to box types in your views. Applying different styles to chart views can help differentiate them from each other. In the Box Styles section, you can create or edit up to 20 different box styles that can be applied to box types in your view.
To add a box style choice, click on the Add button.
Select the color of the box, then select the header and the body text colors. Click OK when complete.
Adding colors and patterns to box highlights
The application provides 9 default box highlight styles you can apply to box highlights in your views. Using box highlights, you can put a ‘border’ around specific boxes to indicate they meet a specific condition. On the Styles page, you can create up to 20 different box highlight styles that can be used in your view.
To add a border highlight choice, click on the Add button.
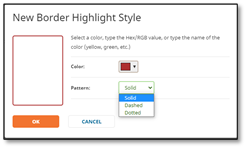
Select the color of the highlight and the pattern of the highlight. Click OK when complete.
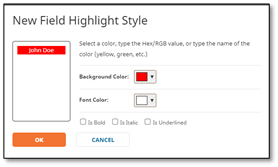
Adding colors to field-level highlights
OrgPlus RealTime provides 9 default field highlight styles you can apply to fields in your views. Using field highlights, you can ensure specific fields ‘stand out’ from other fields when they meet a specific condition. On the Styles page, you can create up to 20 different field highlight styles that can be used in your view.
To add a field highlight choice, click on the Add button.
Select the color of the field highlight background, the font color of the text, and then add any addition formatting you would like to apply. Click OK when complete.
Other box properties
Box width
Change the width of the box under Box Properties, Box Width. By default, the width of the box will adjust based on the length of the text on each box. To adjust the size of all the boxes to have the same fixed width, change the Box Width from Automatic to Fix and select the size of the box.
Box layout
Click the Header On Top checkbox to toggle the header position or Body on Top for the header to appear at bottom of the box. The image on left will change the location of the displayed image to the left side of the box and allow the other fields to display to the right of the image.