
The holidays module within Insperity® Time and Attendance allows for the automation of various holiday pay rules for different employee groups. Holiday dates and observance dates can vary from year to year. As a result, your system administrator must update the company holiday schedule in Insperity Time and Attendance annually.
Navigating to the company holidays page
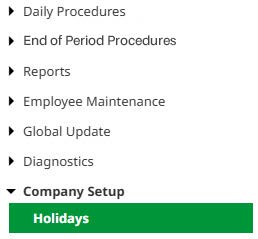
- In the left navigation menu, open the Company Setup folder.
- Click on the Holidays page.
Reviewing the company holidays page
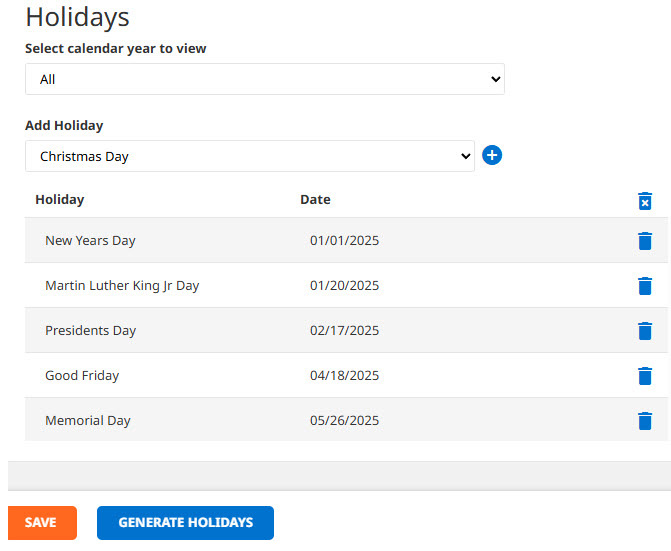
- Holidays: Contains a drop-down list that’s used to select a specific year’s holiday calendar.
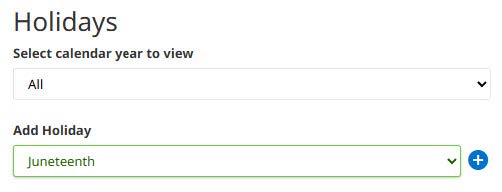
- Add Holiday: Provides a drop-down list containing all active company holidays.
- Calendar: Displays a list of the selected year’s holidays and observation dates.
Generating next year’s holiday calendar
In order to take full advantage of Insperity Time and Attendance’s holiday pay automation, ensure the holidays for the upcoming year are generated before January of that year. Here, we demonstrate the process using the company holidays page.
- Click GENERATE HOLIDAYS to open a new window.

- Within the Generate dates from drop-down list, ensure the years align with the holiday calendars being generated.
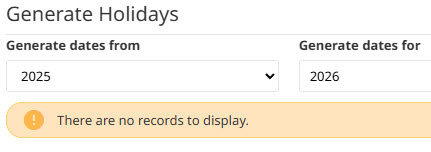
- Click GENERATE HOLIDAYS to prepopulate a holiday calendar for the new year.
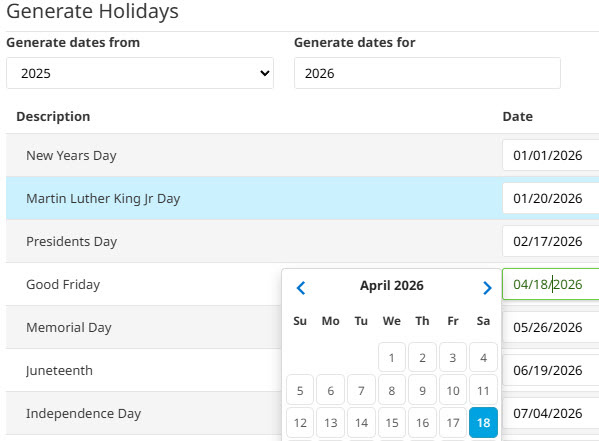
- Using the previous year as a template, select the appropriate observation date for each holiday in the new year.
- To add a new holiday, click the Add Holiday drop-down list to locate the additional holiday.
Note: Please contact support if you do not see the holiday in question in the drop-down list. - Make sure to click the SAVE button to save the changes.

Modifying an existing year’s holiday calendar
Organizations may change which holidays are observed year to year, alter the dates of company holidays in the middle of the year or add an additional one-time holiday.
- Click the Add Holiday drop-down list to locate the additional holiday.
Note: Please contact support if you do not see the holiday in question in the drop-down list.
- Click the empty box next to the new line to enter the observation date.

- Make sure to click the SAVE button to save the changes.

- (Optional): If you make a mistake during the holiday generation, a date isn’t selected correctly or a holiday no longer applies, please use the trash can icon to delete the row. A new row can be added with the correct date if there’s an error. Make sure to save your changes.