
This article is for adding a new employee in Time and Attendance. If you are a HR360 client, new employees are added through Insperity Premier. Please contact your Payroll Specialist if you have any questions about how to make this update.
If you are a HR360 client and the employee is a non-Insperity paid employee, follow the instructions below.
How to add a new employee
The Add New Employee Wizard will guide you through adding a new employee. There are 7 steps to add a new employee to the system. Information is not required on every screen, but you need to complete all 7 steps of the New Employee Wizard.
- On the left side Navigation pane, click on Employee Maintenance as illustrated. This will expand the Employee menu.
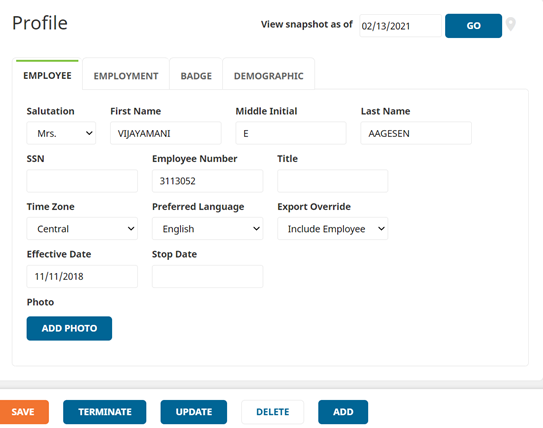
- Click on Profile under Employee Information as shown above. This displays the Employee detail screen.
Click on ADD button at the bottom. This will start the Add New Employee Wizard.
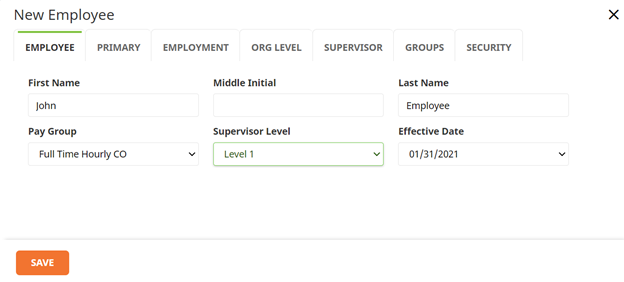
- Full Name: Enter the first name, middle initial (if known), and the last name of the employee.
- Pay Group: Click the down arrow and select the pay group for the employee.
- Supervisor Level: The supervisor level determines permissions or rights of what the employee will have access to. Click the down arrow and select the appropriate Supervisor Level for the employee.
- Active Pay Period: By default, the first day of the active pay period is displayed. Click the down arrow and select the appropriate date. *The employee will not appear in the main drop-down until your system is in the period of the chosen date.
Primary
Primary Information relates to those items that identify the employee in the system such as social security number or badge number.
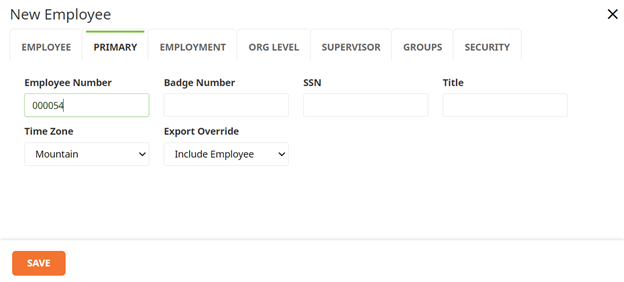
- Employee Number: The employee number is not required, but highly recommended
- Badge Number: Enter a badge number if your company uses time clocks with card readers
- SSN: Social Security Number is not required
- Title: Enter the employee’s title if appropriate
- Time Zone: Choose the time zone in which the employee will be working
- Export Override: Defaults to include the employee in the payroll export file. If the employee will not need to be exported for payment, click the down arrow and select Exclude Employee. ** If Exclude Employee is selected, accruals will not be calculated.
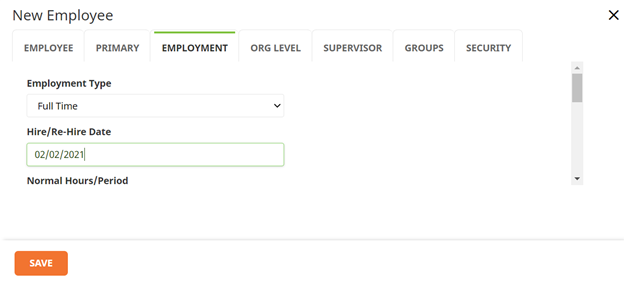
Employment
Org Levels
Organizational levels allow you to assign the employee to a location or department depending on your company’s organizational structure.
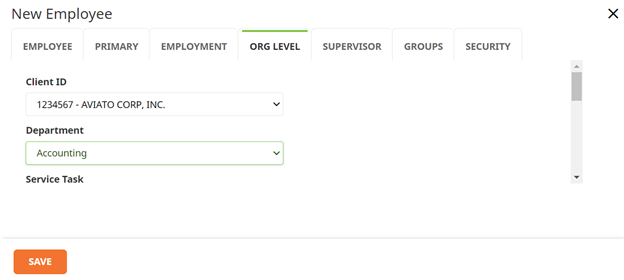
Click the down arrow and select the appropriate organizational level for the employee.
Supervisor
This step allows you to assign supervisor for the employee.
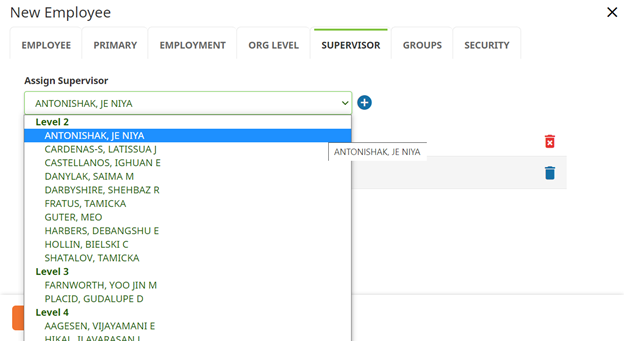
- Select the name of the employee’s supervisor in the right drop-down box.
- Click the plus sign to add the name under the Supervisor list.
Groups
Group assignments are schedules, accruals, time, or attendance the employee may be assigned.
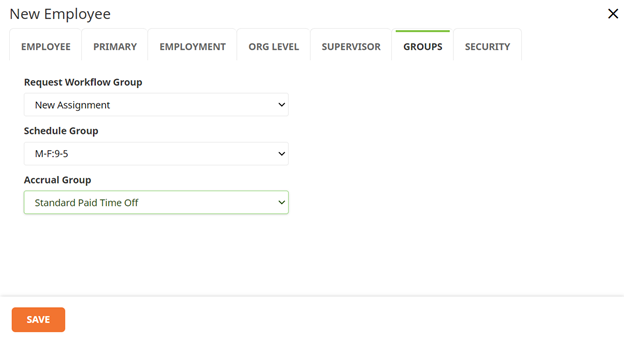
- Click the down arrow and select the appropriate group assignment(s).
Security
This is an important step as it establishes the user account for the employee. If this is not completed the employee will not be able to log into the system.
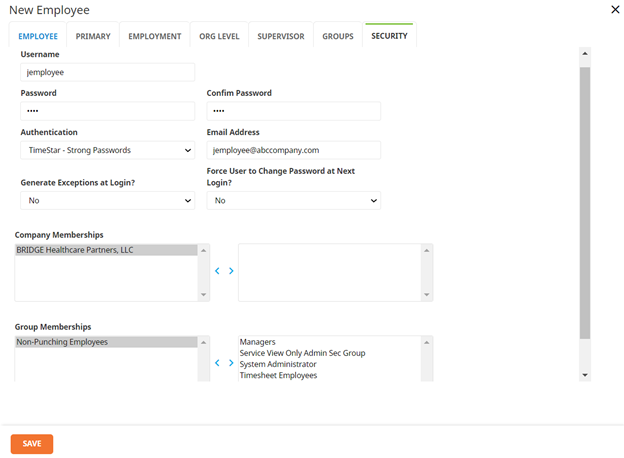
- Username: enter the username following the protocol established for your company.
- Password: enter the password for the employee.
- Confirmation: enter the password again to confirm it.
- Email address: this is not required to add a new employee, but if you want the system to email alerts to the employee, it is necessary.
- Exceptions: leave the default of No.
- Change Password: click Yes to force a password change upon initial login by the employee.
- Authentication: leave as TimeStar.
- Company Membership: select the appropriate company name in the right box and click the << button to move the name to the box on the left.
- Group Membership: select the proper group for the employee and click the << button to move the group to the box on the left. *Only chose one group, or the employee will be unable to log into the system.
- Click SAVE. The system will prompt with any missing fields. Click OK.